Ember Testing (Unit, Integration & Acceptance) - Ember.js Tutorial part 8
Sat Jan 28 2017
Paul Shan
I’m using Ember.js 2.10.0 here
Let me start with a confession. I never used to like writing test cases for my applications. I worked a bit with selenium and always felt it’s something very complicated and tedious work. But Ember not only just changed my perspective towards testing, but also the testing feature is one of the key ones why I love Ember so much.
Though there are a lot many types of testing (terminology) available in the programming community, but Ember uses qUnit and offers three kinds of testing by default. They are, Unit testing, Integration testing and Acceptance testing. Some of you may already know about these three terms, but I will describe each of them individually in the article and will also show how you can implement them in your Ember.js app.
Pros of testing
- Gives you the confidence that things are working.
- Better code coverage.
- Reduce jobs of testers.
- Depending on process is better than that on a person.
Cons of testing
- Needs time investment.
- For many developers (like me :P) it’s a little boring to do.
Hope you already have an application ready. If you are new to ember and do not know Ember fully, you can go through our complete guide to Ember.js series. So time to jump into the actual Ember testing.
Unit testing
Unit tests are used to test very small functional parts of your code. This is related to code only; thus it’s something only developers will be able to understand. For an example if you want to test a computed property working perfectly or not in a controller or somewhere else; you will write a unit test. More examples of unit tests are like if a model object is being created successfully, if the default value is assigned to a property, if a function is returning the required thing etc.
As unit tests focuses on very small parts, ember doesn’t trigger the entire application for that. Rather just resolves the dependencies and create objects like controller, model, router etc.
Whenever you create a controller, model, router, serializer or any other element except component (cause it goes under integration test) in your ember app with ember-cli, it will automatically create a unit test for the same. If you create a model named post, it will automatically create post-test.js in tests/unit/models/ folder. The test file will look like below.
import { moduleForModel, test } from 'ember-qunit';

moduleForModel('post', 'Unit | Model | post', {
  // Specify the other units that are required for this test.
  needs: []
});

test('it exists', function(assert) {
  let model = this.subject();
  // // let store = this.store();
  assert.ok(!!model);
});
It’s importing moduleForModel and test from ember-qunit and using them it scaffolded the test. You can use the test function multiple times in the same file to create multiple tests. Inside the test function this.subject() returns you the object of your element (in this case a post model object).
In the moduleForModel function there is a property needs in the second param. If your element (model in this case) has any dependency, you need to provide it here. Support this post model of ours has a belongsTo relation with another model named user. In that case we need to specify it like below. (You will not understand those belongsTo and model relation if you are not familiar with Ember-data and it’s fine)
moduleForModel('post', 'Unit | Model | post', {
  // Specify the other units that are required for this test.
  needs: ["model:user"]
});
It may require some serializers or sometimes helpers or anything else. Just specify them in needs.
The assert object is like your principal. It provides you need hooks to determine if the test is passed. In this case it’s using .ok() which passes the test only if the first parameter sent to it is a truthy value. We will discuss more about assert and other test hooks and methods in the later half of the article.
Acceptance testing
Unlike unit testing, acceptance testing is more in the user’s side than the developer’s. Acceptance testing will test your application just like a user or qa will do; i.e. visiting a certain page, checking the elements and urls etc. It has nothing to do with application architecture, but with the flow of the app.
As acceptance tests are not meant for code testing, so ember doesn’t create any default acceptance-test for your components. You need to create once when needed with the following command.
$ ember generate acceptance-test test-name
The above command will create a file named test-name.js in /tests/acceptance/ folder with the following code in it.
import { test } from 'qunit';
import moduleForAcceptance from 'blog-app/tests/helpers/module-for-acceptance';

moduleForAcceptance('Acceptance | post route testing');

test('visiting /test-name', function(assert) {
  visit('/test-name');

  andThen(function() {
    assert.equal(currentURL(), '/test-name');
  });
});
Using the visit helper you can visit any route and andThen is a async handler which will be triggered only after the previous async calls (like visit) are completed. We will tell later on which are the sync and async helpers for ember testing.
In acceptance testing you will be able to use the find helper to find any element in the rendered application page. Though the document object is also accessible, but it’s not that document which you are thinking. This document is the entire test page along with the rendered app in a small portion of it. So don’t use document object directly. Below is an example to test the number of h1 tags in the page.
import { test } from 'qunit';
import moduleForAcceptance from 'blog-app/tests/helpers/module-for-acceptance';

moduleForAcceptance('Acceptance | post route testing');

test('visiting /test-name', function(assert) {
  visit('/test-name');

  andThen(function() {
    var numberOfH1 = find("h1").length;
    assert.equal(numberOfH1, 1);
  });
});
The test will fail if there is not exactly one h1 tag in the page. Similarly you can do all your DOM checking, clicking buttons, filling up input fields, interactions with elements, triggering actions etc.
Integration testing
Integration test is a little confusing to understand as it’s something in between the unit and acceptance test. It’s not just code testing like unit and neither a full fledged page-flow test. It’s more like testing the individual parts of the applications separately. For an example, if a particular ember-component is able to render properly is an integration testing. But whether that component is appearing in the required page is acceptance testing. You can render only a particular component of your application and test. Whenever you create a component in ember, it automatically creates a test file for the same to do integration test. For an example if you create a component named abc-component you will also find a abc-component-test.js in /tests/integration/components/ folder with the following code.
import { moduleForComponent, test } from 'ember-qunit';
import hbs from 'htmlbars-inline-precompile';

moduleForComponent('abc-component', 'Integration | Component | abc component', {
  integration: true
});

test('it renders', function(assert) {

  // Set any properties with this.set('myProperty', 'value');
  // Handle any actions with this.on('myAction', function(val) { ... });

  this.render(hbs`{{abc-component}}`);

  assert.equal(this.$().text().trim(), '');

  // Template block usage:
  this.render(hbs`
    {{#abc-component}}
      template block text
    {{/abc-component}}
  `);

  assert.equal(this.$().text().trim(), 'template block text');
});
The code is trying to render only the component, without loading the entire application. this.render is not an async function like our previous visit helper in acceptance test and that is why you don’t need to use andThen helper.
As in integration test ember doesn’t load the entire application, using find helper will not work properly. Rather use this.$("yourQuery") to select elements rendered by the component. Once the component is selected, you can fire any DOM event or do any DOM operations.
Actions testing
Sometimes in integration testing, all you need to know is if the action is triggered or not. The listener could be in some other component or controller. So to test if the action is fired or not you can add an action listener in your tests. Below is a code.
this.render(hbs`{{abc-component}}`);
  assert.equal(this.$().text().trim(), '');

  // Template block usage:
  this.render(hbs`
    {{#abc-component}}
      template block text

    {{/abc-component}}
  `);
  this.on("componentAction", function () {
    assert.ok(true);
  });
How to run the tests
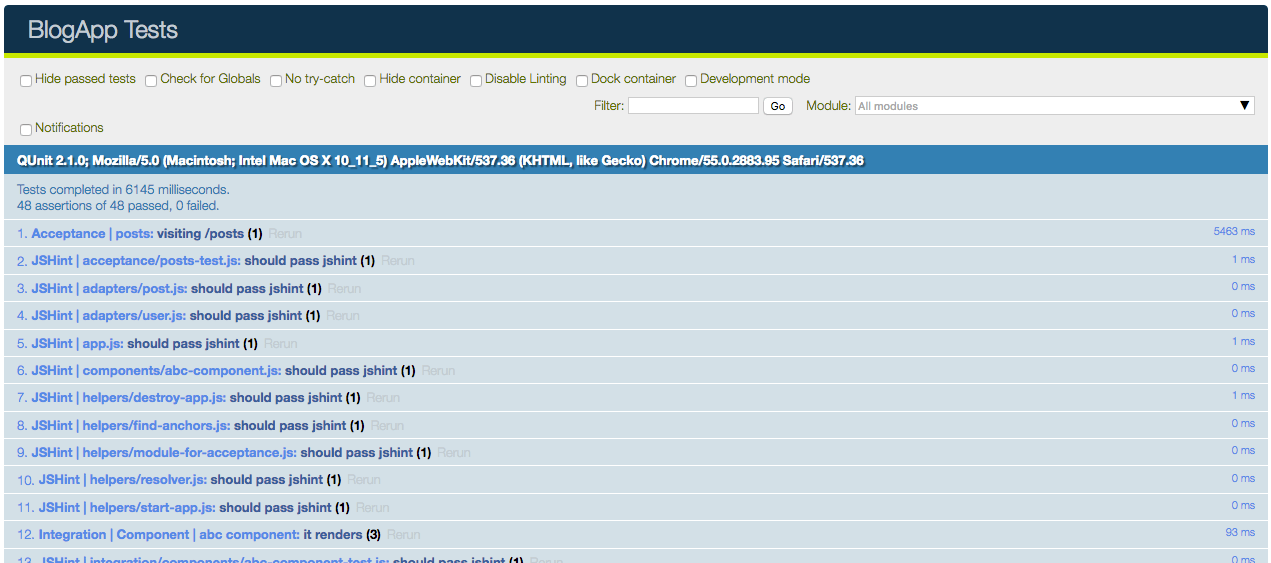
Running the ember test is too simple. All you need to do is run your application using ember s and visit the localhost:4200/tests/ in your browser. However it’s not the only way.
Running tests from terminal
$ ember test
You can also run your tests using the above command. But for that you need to have phantomjs installed. You can also test selectively using the --filter parameter. Below are some examples.
$ ember test –filter=”my-component-name”
$ ember test –filter=”my-router-name”
$ ember test –filter=”unit”
You can run the tests both on terminal and browser using the -s parameter. It will keep observing your file changes and rerun all the tests both in terminal and browser instance (which will be opened by the command only).
$ ember test –filter=”integration” -s

Create & destroying new test files
There are few limitations, like you can not create a integration test for a controller, route or model. Integration testing is available for components only, because of obvious reasons. Below are the various commands to generate test files.
$ ember generate acceptance-test test-name
$ ember generate model-test test-name –unit
$ ember generate component-test component-test-name –integration
$ ember generate route-test test-name –unit
$ ember generate controller-test test-name –unit
To destroy any test (not even test, but anything) all you need to do is to trigger the same command replacing generate with destroy.
$ ember destroy acceptance-test test-name
$ ember destroy model-test test-name –unit
$ ember destroy component-test component-test-name –integration
$ ember destroy route-test test-name –unit
$ ember destroy controller-test test-name –unit
Hooks & helpers for testing
By the time we’ve covered what tests are, how they work, how to setup, destroy and run them. May be few examples are also given. But with concepts we also need to know the hooks and helpers to code the tests in our applications. Below are all major helpers which ember/qunit provide and how to use them.
assert
Knowing assert is important. As I said previously Mr. assert is like our principal who validates who has passed and who is not. assert is provided by qunit and you can find the api documentation here. There are many great hooks which assert has.
- ok(truthyValue) passes the test if you provide a truthy value (true, object, string, array etc).
- notOk(falsyValue) passes tests if you pass the opposite of the previous one.
- equal(firstVal, secondVal, message) can be useed to compare any primitive values.
- deepEqual(obj1, obj2, message) also compares, but have the power to compare two objects (two different instances with same set of values), arrays and also primitives.
- notEqual() & notDeepEqual() does just the opposite as the name suggests.
- strictEqual() & propEqual() is like the
===for equal() & deepEqual(). These two compares strictly with type checking. - async() returns a function
done(you can name it anything) which you can execute after all your asynchronous operations. - expect(number) takes a number as parameter which indicates how many asserts you are going to fulfill in the test. At the top of the test you can use
assert.expect(3)and it will wait till it gets 3 asserts. You can provide one assert.ok() synchronously and two more after completing some async things like ajax calls.
Examples of assert
//test 1
test('it exists', function(assert) {
  let done = assert.async();
  setTimeout(function() {
    assert.equal( 1, "1", "This will pass" );
    done();
  }, 5000);
});

//test 2
test('it exists', function(assert) {
  assert.expect(3);
  let obj1 = {foo: "bar"};
  let obj2 = {foo: "bar"};
  assert.deepEqual(obj1, obj2, "This will pass");
  setTimeout(function() {
    assert.equal( 1, "1", "This will pass" ); //assert will waif for this cause it was expecting 3 asserts
  }, 5000);
  assert.notOk(false);
});
DOM helpers
- find(selector, context) helps to find or select elements from your DOM.
- click(selector) clicks the element (selector) and ann event or actions associated with that will be triggered.
- fillIn(selector, value) fills the value to elements like inputbox etc.
- keyEvent(selector, type, keyCode) simulates a key-event like keypress, keydown, keyup etc (the second param). Pass the desired keyCode as param 3.
- triggerEvent(selector, type, options) is the base of keyEvent. This one can fire events like blur, click etc.
- visit(url) renders the application page according to the given url.
Except find, all the other helpers mention above are asynchronous. All of them returns an RSVP promise. You can either use .then() function as you do with every promise or the andThen() helper of ember which waits till the previous async things are completed. The recommended way is the andThen() helper cause it makes the code look a little bit cleaner.
test('visiting /posts', function(assert) {
  assert.expect(2)
  visit('/posts');

  andThen(function() {
    let totalAnchors = find("a");
    assert.ok(totalAnchors>10);
    click("#someId");
    andThen(function(){
      assert.ok(true);
    })
  });
});
Url related helpers
- currentPath() is like JavaScript’s
location.pathname; returns the current path. - currentRouteName() Returns the currently active route name.
- currentURL() is like
location.href; returns the entire url.
These three are synchronous helpers.
async helpers
I mentioned earlier that click(), visit() these helpers are async. Remember if you execute multiple async helpers one after another, the second async helpers will not be triggered till the time the first one is resolved. You can use andThen() to perform any other synchronous things, that are need to be executed after all the async helpers are executed. Below is a example code for this description.
test('visiting /myroute', function(assert) {
  visit('/myroute'); //first this will be triggered
  fillIn("input", "myval"); //after route is loaded, this will be fired.
  click(".submit"); //after filling the click will be performed
  andThen(function () {
    //will be here after all asynchronous helpers are resolved
    assert.ok(true);
  });
});
registerWaiter
You can create your own async helpers using registerWaiter and after that using andThen will do all waiting for you. Below is a code example.
async code will not wait
let testVarForSettimeout = false;
  setTimeout(()=>{
    testVarForSettimeout = true;
  }, 10000);
  andThen(()=>{
    assert.ok(testVarForSettimeout);
  });
register a waiter to solve this
let testVarForSettimeout = false;
  setTimeout(()=>{
    testVarForSettimeout = true;
  }, 10000);
  Ember.Test.registerWaiter(() => {
      return testVarForSettimeout;
  });
  andThen(()=>{
    assert.ok(testVarForSettimeout);
  });
Custom test-helpers
Whatsoever we have read till now is sufficient to write test cases for your ember app. But custom test-helpers can really make your code clean, structured and reusable code.
create a test-helper
$ ember generate test-helper helper-name
The command above will create a file helper-name.js in /tests/helpers/ folder with the following code.
import Ember from 'ember';

export default Ember.Test.registerAsyncHelper('helperName', function(app) {

});
By default the generated code is for a asynchronous helper, but to make it synchronous simply use Ember.Test.registerHelper instead of Ember.Test.registerAsyncHelper.
Once a helper is created, before using that in your tests, add the name of the helper in .jshintrc so that it doesn’t fail your linting test.
{
  "predef": [
    "document",
    "window",
    "location",
    "setTimeout",
    "$",
    "-Promise",
    "define",
    "console",
    "visit",
    "exists",
    "fillIn",
    "click",
    "keyEvent",
    "triggerEvent",
    "find",
    "findWithAssert",
    "wait",
    "DS",
    "andThen",
    "currentURL",
    "currentPath",
    "currentRouteName",
    "helperName"
  ...
Use the custom helper
In any test file you first have to import the newly created helper and the function will be available to use.
import 'my-app/tests/helpers/helper-name';
test('visiting /myroute', function(assert) {
  visit('/myroute');
  helperName(); //your test helper
  anotherHelper();
  andThen(function () {
    assert.ok(true);
  });
});
Similarly you can create more helpers, synchronous or asynchronous and structure your test code better. Remember if you’re using async helpers like click in a helper; the helper also must be async.
SHARE THIS ARTICLE


Popular Articles
Authentication using Google's oAuth api with node.js
Thu Mar 10 2016
OAuth authentications are pretty popular now a days and another thing which is popular is JavaScript. This article shows how to plugin google’s oAuth api for authentication in your own node application.CSS3 Loader Snippet Collection: (Part 2 - Squares)
Sat Mar 01 2014
This is a continuation of my CSS3 loader snippet collection series. I've provided spinning css3 animation loader in the part 1 of this series and here in part 2, I'm providing various square type loading